Containerization is one of the most important IT trends over the last two years. Docker heads this technology up, providing an open platform which lets you package up applications with all their dependencies. Applications can be shipped as software containers to enable process isolation, resources optimization, portability, and ease of maintainability and deployment.
As passionate about each new exciting and promising technology, we at Lightstreamer could not miss the opportunity to enter this world, so we tested how well our Server could be “dockerized” and … Yes, we did it! We published the Docker official image for Lightsteamer Server on Docker Hub.
The aim of this blog post is to show how to use our Docker image as a starting point to build new Lightstreamer Server deployments.
Getting Started
First of all, download and install Docker by following the instructions relative to your specific system. After you have installed and started the Docker service, download the Lightstreamer image from Docker Hub through the command:
$ docker pull lightstreamerShortly after, you should see dynamic information about download progress, until the image will be completely downloaded and installed, as follows:
latest: Pulling from lightstreamer
465501aff72f: Pull complete
3e068a57afeb: Pull complete
...
f48c09b6410a: Pull complete
1c9adb159fc4: Pull complete
Digest: sha256:e037e125bdc4adff73c5c7f3679a439359b6669463716952801c8dabcb4e93e3
Status: Downloaded newer image for lightstreamer:latest
To verify your downloaded succeeded, check the availability of the image through the docker images command, which lists the mostly recently created images:
$ docker images
REPOSITORY                  TAG                 IMAGE ID            CREATED             VIRTUAL SIZE
lightstreamer               latest              c9bc36e9a501        15 seconds ago      522 MB
Running the Container
Now that the image is ready to be used, run the container with the default configuration, by simply executing the command:
$ docker run --name ls-server -d -p 80:8080 lightstreamerThe container will be assigned the name ls-server (–name option) and will run in background (-d option). In addition, the exposed port 8080 inside the container will be mapped to the port 80 on local host.
To verify that Lightstreamer server is up and running inside the container, let’s proceed with a double check:
- first, run the docker ps command, which shows the list all running containers:
$ docker ps
CONTAINER ID        IMAGE               COMMAND             CREATED             STATUS              PORTS                  NAMES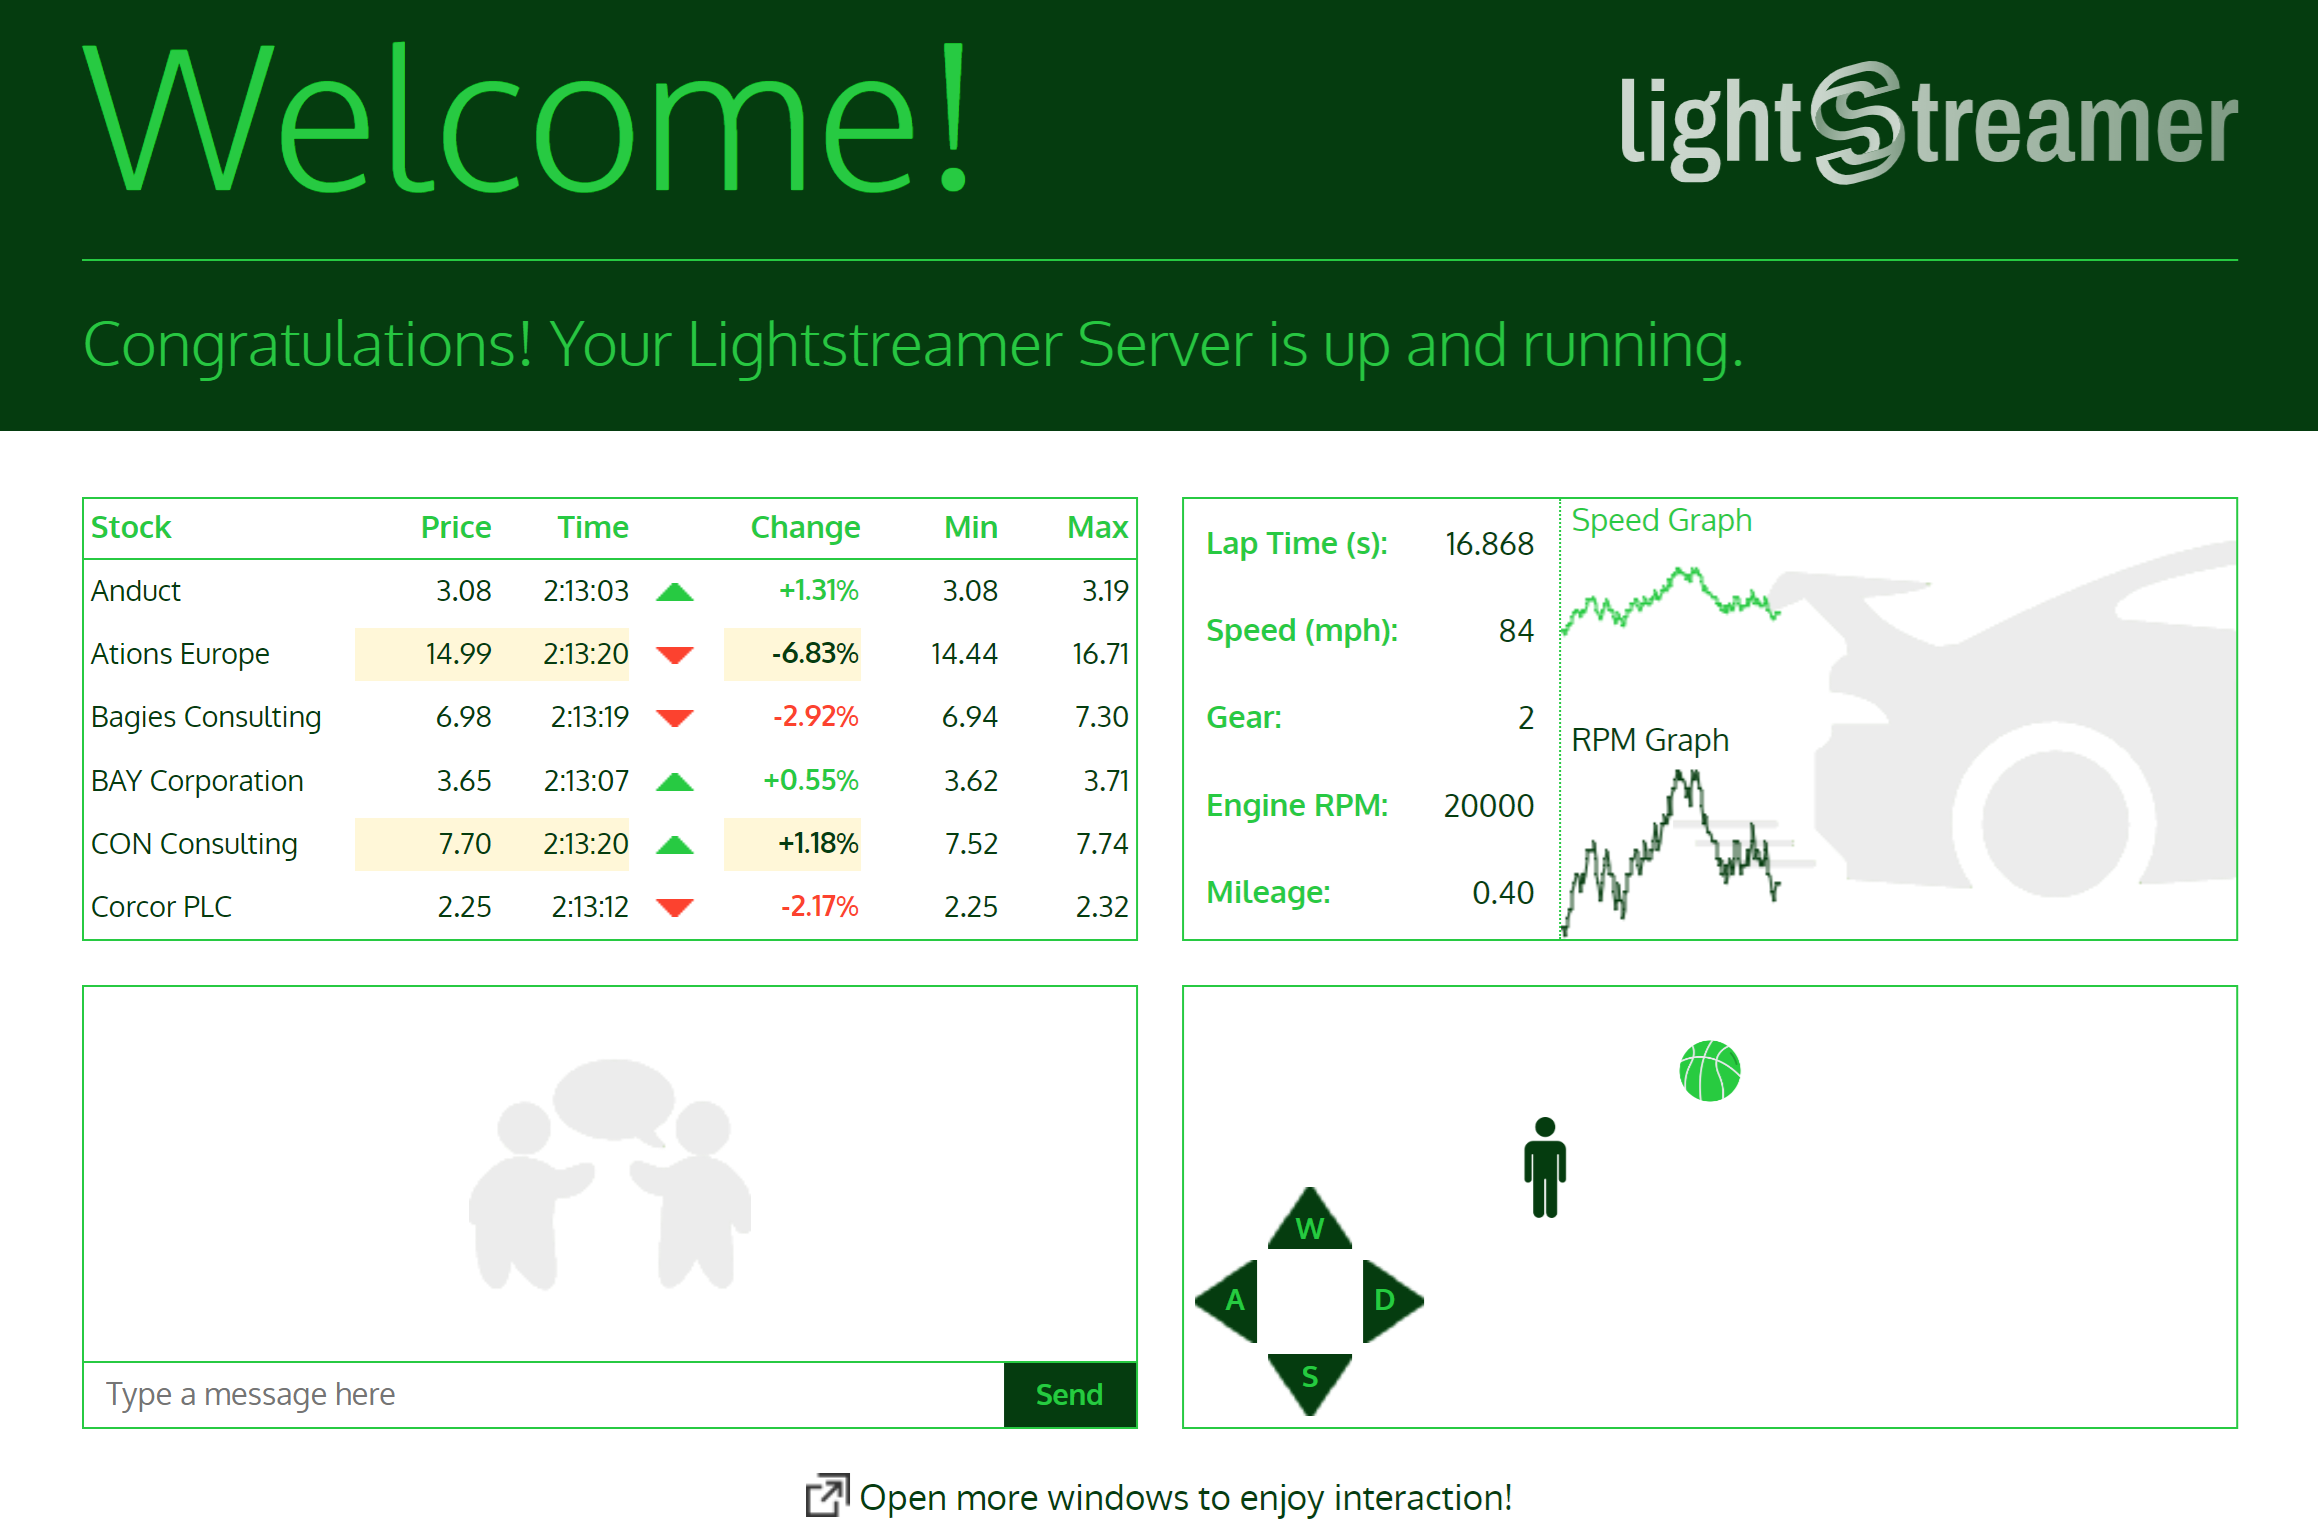
4e33b9609875 lightstreamer "./LS.sh run" 2 minutes ago Up 2 minutes 0.0.0.0:80->8080/tcp ls-server- second, open your browser to http://localhost and watch the Welcome page showing real time data flowing in from the locally deployed demo application.
Please consider that in case of a Windows and OS X systems, the Docker daemeon is running inside a Linux virtual machine, therefore you need to replace localhost with the ip address assigned to such virtual machine.
For Lightstreamer experts, another useful check is the one offered by the docker logs command, which fetches and prints on the console the standard output and error present at the time of execution:
$ docker logs ls-server
Java environment:
JAVA_HOME = "/usr/lib/jvm/java-8-openjdk-amd64/jre"
JAVA_OPTS = "-server -XX:MaxGCPauseMillis=1000"

Setting file descriptor limit to 1048576
Configured file descriptors, soft limit: 1048576
Configured file descriptors, hard limit: 1048576
Configured sysctl fs.file.* values:
fs.file-max = 71862
fs.file-nr = 6752	0	71862

Lightstreamer Server directory:
LS_HOME = "/lightstreamer"

Lightstreamer Server main configuration file:
LS_CONFIG = "/lightstreamer/conf/lightstreamer_conf.xml"

Starting Lightstreamer Server...
Please check logs for detailed information.
12.Apr.23 15:02:46,070 < INFO> Lightstreamer Server 7.3.3 build 3059
12.Apr.23 15:02:46,148 < WARN> Lightstreamer is running with a Demo license, which has a limit of 20 concurrent users and can be used for evaluation, development, and testing, but not for production. If you need to evaluate Lightstreamer without this user limit, or need any information on the other license types, please contact info@lightstreamer.com
12.Apr.23 15:02:46,156 < INFO> Server launched on Java Virtual Machine: Oracle Corporation, Java HotSpot(TM) 64-Bit Server VM, 25.351-b10, 1.8.0_351-b10 on Windows 11
12.Apr.23 15:02:46,171 < INFO> Server starting for TLCP version 2.4.0
...
...
12.Apr.23 15:02:47,763 < INFO> Server "Lightstreamer HTTP Server" listening to *:8080 ...
12.Apr.23 15:02:48,254 < INFO> Total threads = 54, Total heap = 16773120 (free = 8462064), Sessions = 0 (max = 0), New sessions = [+0, -0], Connections = 0 (max = 0), New connections = [+0, -0], In-pool threads = 22, Active threads = 0, Available threads = 22, Queued tasks = 0, Pool queue wait = 0, NIO write queue = 0, NIO write queue wait = 0, NIO write selectors = 1, NIO total selectors = 4, Subscribed items = 0 (for 0 subscriptions), Inbound throughput = 0 updates/s (pre-filtered = 0), Outbound throughput = 0 updates/s (0 kbit/s, max = 0), Lost updates = 0 (total = 0), Total bytes sent = 0, Client messages throughput = 0 msgs/s (0 kbit/s, max = 0), Total messages handled = 0, Extra sleep = 0, Notify delay = 0
Stopping and Removing a Container
The started ls-server container can be stopped through the command:
$ docker stop ls-serverand finally removed with:
$ docker rm ls-serverRemember to execute the above commands each time you want to start a container with the same name or the same mapping TCP port.
Providing a Custom Configuration
Ok, now we are sure that our Lightstreamer image has been successfully downloaded and installed, and that all checks have been passed completely, so it’s time to go a step further!
For example, you may wonder if it could be possible to customize some of the multiple settings of Lightstreamer even for an server instance running inside a Docker container.
Docker allows to manage data inside and between containers, through Data Volume, which also offers the possibility to mount a directory or a single file from the host machine into a container. By leveraging this feature, a custom Lightstreamer configuration file (/path/to/my-lighstreamer_conf.xml) may be supplied as follows:
$ docker run --name ls-server -v /path/to/my-lightstreamer_conf.xml:/lightstreamer/conf/lightstreamer_conf.xml -d -p 80:8080 lightstreamerIn the same way, you could provide a custom logging configuration, maybe in this case also specifying a dedicated volume to ensure both the persistence of log files and better performance of the container:
$ docker run --name ls-server -v /path/to/my-lightstreamer_log_conf.xml:/lightstreamer/conf/lightstreamer_log_conf.xml -v /path/to/logs:/lightstreamer/logs -d -p 80:8080 lightstreamerAfter launching the container, you might verify how the the /path/to/logs directory is getting populated with log files produced by the server.
In the following example we also updated the my-lightstreamer_log_conf.xml file, changing the factory logging path configuration from ../logs to /path/to/dest/logs, which now needs to be specified as additional host directory to mount:
$ docker run --name ls-server -v /path/to/my-lightstreamer_log_conf.xml:/lightstreamer/conf/lightstreamer_log_conf.xml -v /path/to/hosted/logs:/path/to/dest/logs -d -p 80:8080 lightstreamerDeployment of Lightstreamer Adapter Sets
To make full use of the published Official Image, let’s explore how you could provide a running container with any Lightstreamer Adapter Set, either developed by yourself or provided by third parties, by employing similar strategies to those illustrated above.
Single Adapter Set
For example, the simplest way to deploy a single custom Adapter Set is to attach its deployment files into the factory adapters folder, as follows:
$ docker run --name ls-server -v /path/to/my-adapter-set:/lightstreamer/adapters/my-adapter-set -d -p 80:8080 lightstreamerwhere /path/to/my-adapter-set is a directory on your host containing the deployment files of your custom Adapter Set.
An interesting exercise could be the deployment of our Hello World Java Adapter. Here the required steps:
- Create a new folder /my-adapters on your host machine.
- Download the deploy.zip file from our repository project on GitHub and unzip it into /my-adapters folder.
- Run the container with the command:
$ docker run --name ls-server -v /my-adapters/HelloWorld:/lightstreamer/adapters/HelloWorld -d -p 80:8080 lightstreamer- Verify that the Adapter Set has been successfully loaded by the server.
$ docker logs ls-serverUpon the last command, you should see an output similar to:
12.Apr.23 08:52:47,625 < INFO> Lightstreamer Server 7.3.3 build 3059
12.Apr.23 08:52:47,678 < WARN> Lightstreamer is running with a Demo license, which has a limit of 20 concurrent users and can be used for evaluation, development, and testing, but not for production. If you need to evaluate Lightstreamer without this user limit, or need any information on the other license types, please contact info@lightstreamer.com
12.Apr.23 08:52:47,681 < INFO> Server launched on Java Virtual Machine: Oracle Corporation, Java HotSpot(TM) 64-Bit Server VM, 25.351-b10, 1.8.0_351-b10 on Windows 11
12.Apr.23 08:52:47,681 < INFO> Server starting for TLCP version 2.4.0
...
12.Apr.23 08:52:48,794 < INFO> data_provider element without name attribute; using DEFAULT as the default name.
12.Apr.23 08:52:48,819 < INFO> Loading Metadata Adapter for Adapter Set HELLOWORLD
12.Apr.23 08:52:48,821 < INFO> Finished loading Metadata Adapter for Adapter Set HELLOWORLD
12.Apr.23 08:52:48,822 < INFO> Loading Metadata Adapter for Adapter Set WELCOME
12.Apr.23 08:52:48,825 < INFO> Loading Data Adapter HELLOWORLD.DEFAULT
12.Apr.23 08:52:48,831 < INFO> Finished loading Data Adapter HELLOWORLD.DEFAULT
which attests the correct loading of the Hello World Adapter Set.
Multiple Adapter Sets
But what if you need to plug more custom Adapter Sets onto a running container? Should you list in the command line as many host directories as the Adapter Sets to deploy? Since it might result in a tedious and error prone approach, we need better strategies.
One of them could be a fully replacement of the factory adapters folder with a one located in your host machine, in which you supply all the adapter deployment folders.
$ docker run --name ls-server -v /path/to/my-adapters:/lightstreamer/adapters -d -p 80:8080 lightstreamerIn this case, the /path/to/my-adapters folder has to be structured with the required layout for an adapters folder:

Let’s see how it works in practice, extending the previous exercise with the aim to deploy the Basic Chat Java Adapter along with the the Hello World Java Adapter.
- Download the deploy.zip file from our repository project on GitHub and unzip it into the same /my_adapters folder, where the deployment files related to the Hello World Adapter are already there.
- Now the resulting layout of /my_adapters should look like:

- Run the container with the command:
$ docker run --name ls-server -v /my-adapters:/lightstreamer/adapters -d -p 80:8080 lightstreamer- Verify that the both Adapter Sets have been successfully loaded by the server, checking the output produced by the docker logs command seen before:
$ docker logs ls-server
...
...
Starting Lightstreamer Server...
Please check logs for detailed information.
12.Apr.23 10:30:29,034 < INFO> Lightstreamer Server 7.3.3 build 3059
12.Apr.23 10:30:29,094 < WARN> Lightstreamer is running with a Demo license, which has a limit of 20 concurrent users and can be used for evaluation, development, and testing, but not for production. If you need to evaluate Lightstreamer without this user limit, or need any information on the other license types, please contact info@lightstreamer.com
12.Apr.23 10:30:29,101 < INFO> Server launched on Java Virtual Machine: Oracle Corporation, Java HotSpot(TM) 64-Bit Server VM, 25.351-b10, 1.8.0_351-b10 on Windows 11
12.Apr.23 10:30:29,111 < INFO> Server starting for TLCP version 2.4.0
...
12.Apr.23 10:30:29,954 < INFO> data_provider element without name attribute; using DEFAULT as the default name.
12.Apr.23 10:30:30,014 < INFO> Loading Metadata Adapter for Adapter Set HELLOWORLD
12.Apr.23 10:30:30,018 < INFO> Loading Metadata Adapter for Adapter Set CHAT
12.Apr.23 10:30:30,023 < INFO> Finished loading Metadata Adapter for Adapter Set HELLOWORLD
12.Apr.23 10:30:30,054 < INFO> Loading Data Adapter HELLOWORLD.DEFAULT
12.Apr.23 10:30:30,062 < INFO> Finished loading Data Adapter HELLOWORLD.DEFAULT
12.Apr.23 10:30:30,225 < INFO> ChatMetadataAdapter ready
12.Apr.23 10:30:30,226 < INFO> Finished loading Metadata Adapter for Adapter Set CHAT
12.Apr.23 10:30:30,233 < INFO> Loading Data Adapter CHAT.CHAT_ROOM
12.Apr.23 10:30:30,237 < INFO> ChatDataAdapter ready
12.Apr.23 10:30:30,237 < INFO> Finished loading Data Adapter CHAT.CHAT_ROOM
...
...
Deployment of Web Server Pages
Till now we have seen how it is possible to customize the Official Image in terms of provided configuration and deployed custom Adapter Sets. But there might be some circumstances where you would like provide also custom pages for the internal web server of the Lightstreamer Server.
Even in this case, it is possible to customize the running container by leveraging the same techniques shown above.
For example, with the following command you will be able to fully replace the factory pages folder, which is the web server’s root directory:
$ docker run --name ls-server -v /path/to/custom/pages:/lightstreamer/pages -d -p 80:8080 lightstreamerwhere /path/to/custom/pages is the path in your host machine containing the replacing web content files.
Building a New Image
In order to simplify the management and the deployment of containers started from the Official Image, it could be also possible to execute all the above tasks by deriving a new image, which will include all files needed for the customization.
Let’s imagine, for example, that our requirement is to package up a Lightstreamer Server with specific overall and logging configurations, together with a couple of Adapter Sets. How would it be possible to accomplish such goal?
First of all, let’s create a new folder which will be the base for our image:
$ mkdir my-lighstreamerThen, we need to populate this folder with all resources needed to build the derived image:
- configuration files, replacing the ones embedded in the starting image, for example my-lightstreamer_conf.xml and my-lightstreamer_log_conf.xml
- adapters deployment files, which will be attached into the default adapters folder, for example the ones belonging to the HelloWorld and Chat adapters already used in the previous examples.
The last and most important resource to add is the Dockerfile, which will instruct Docker on how to build the image:
# Define the starting image
FROM lightstreamer

# Replace the Lighstreamer configuration file
COPY my-lightstreamer_conf.xml /lightstreamer/conf/lightstreamer_conf.xml

# Replace the Ligthstreamer logging configuration file
COPY my-lightstreamer_log_conf.xml /lightstreamer/conf/lightstreamer_log_conf.xml

# Copy the whole HelloWorld deployment directory into "adapters" folder
COPY HelloWorld /lightstreamer/adapters/HelloWorld

# Copy the whole Chat deployment directory into "adapters" folder
COPY Chat /lightstreamer/adapters/Chat
The final resulting layout of my-lightstreamer folder will be:

Finally, we can build the image by simply running the command:
$ docker build -t my-lightstreamer:my-version .from the my-lightstreamer folder.
Pay attention on how we specified the name (my-lighstreamer) and the tag (my-version) of the image with the -t parameter, which is useful for later identification in the local repository through the already used docker images command:
$ docker images
REPOSITORY           TAG                 IMAGE ID            CREATED             VIRTUAL SIZE
my-lightstreamer     my-version          7119105a4d4f        20 seconds ago      522 MB
lightstreamer        latest              1c9adb159fc4        3 hours ago         522 MB
...
All that remains now is launching the container from the newly created image.
$ docker run --name my-ls-server -d -p 80:8080 my-lightstreamerand checking that everything is going well, with the familiar docker ps and docker logs commands:
$  docker ps
CONTAINER ID        IMAGE                         COMMAND             CREATED              STATUS              PORTS                  NAMES
cb1bda8fba20        my-lightstreamer:my-version   "./LS.sh run"       About a minute ago   Up About a minute   0.0.0.0:80->8080/tcp   my-ls-server
...

$ docker logs my-ls-server
Java environment:
JAVA_HOME = "/usr/lib/jvm/java-8-openjdk-amd64/jre"
JAVA_OPTS = "-server -XX:MaxGCPauseMillis=1000"

Setting file descriptor limit to 1048576
Configured file descriptors, soft limit: 1048576
Configured file descriptors, hard limit: 1048576
Configured sysctl fs.file.* values:
fs.file-max = 71862
fs.file-nr = 6752	0	71862

Lightstreamer Server directory:
LS_HOME = "/lightstreamer"

Lightstreamer Server main configuration file:
LS_CONFIG = "/lightstreamer/conf/lightstreamer_conf.xml"

Starting Lightstreamer Server...
Please check logs for detailed information.
12.Apr.23 17:29:33,040 < INFO> Lightstreamer Server 7.3.3 build 3059
12.Apr.23 17:29:33,093 < WARN> Lightstreamer is running with a Demo license, which has a limit of 20 concurrent users and can be used for evaluation, development, and testing, but not for production. If you need to evaluate Lightstreamer without this user limit, or need any information on the other license types, please contact info@lightstreamer.com
12.Apr.23 17:29:33,108 < INFO> Server launched on Java Virtual Machine: Oracle Corporation, Java HotSpot(TM) 64-Bit Server VM, 25.351-b10, 1.8.0_351-b10 on Windows 11
12.Apr.23 17:29:33,112 < INFO> Server starting for TLCP version 2.4.0
...
12.Apr.23 17:29:34,597 < INFO> Server "Lightstreamer HTTP Server" listening to *:8080 ...
12.Apr.23 17:29:35,218 < INFO> Total threads = 54, Total heap = 16777216 (free = 8516496), Sessions = 0 (max = 0), New sessions = [+0, -0], Connections = 0 (max = 0), New connections = [+0, -0], In-pool threads = 22, Active threads = 0, Available threads = 22, Queued tasks = 0, Pool queue wait = 0, NIO write queue = 0, NIO write queue wait = 0, NIO write selectors = 1, NIO total selectors = 4, Subscribed items = 0 (for 0 subscriptions), Inbound throughput = 0 updates/s (pre-filtered = 0), Outbound throughput = 0 updates/s (0 kbit/s, max = 0), Lost updates = 0 (total = 0), Total bytes sent = 0, Client messages throughput = 0 msgs/s (0 kbit/s, max = 0), Total messages handled = 0, Extra sleep = 0, Notify delay = 0
Conclusion
In this blog post we dived into the just published Docker Official Image for Lightstreamer, covering a broad range of usage scenarios.
We showed you how it is possibile to customize practically every aspect of a containerized Lightstreamer Server, exploiting the features provided by the Docker platform.
We also explained how to build a new image starting from the Official one, in order to leverage the great configurability of Lightstreamer from one hand, and to maximize ease of management on the other hand, allowing you to create and handle separated server deployments, each of which focused to serve a specific environment or purpose.
Do not forget to take a look to our source repository on GitHub!